Discover precise, actionable steps to efficiently install a 200-watt solar panel, complete with detailed data and expert insights for optimal setup
Choosing the Right Location
Take a look here to know and understand more, Your 200-watt solar panel would deliver plenty of energy but only to find the perfect spot to position it is another crucial thing to produce a great power output. The decision between the two will have a dramatic effect on how well your solar panel system works.Consider Sun Exposure
WHAT SUNLIGHT AMOUNT IS IDEAL : means which place you get the maximum sunlight throughout the day. If you are in Southern Hemisphere, then south facing would be the ideal and if you are in Northern Hemisphere then north would face is always best for solar plates functionality, This involves checking there are no physical obstructions in the form of large trees or buildings that would shadow the panel during the day. Panel sites are surveyed to ensure they are receiving adequate sunlight, typically around 6-8 hours per day — this is what allows the panels to produce significant amounts of power.Analyze the Angle and Tilt
Your solar panel tilt angle Want to set your solar panel at the same tilt angle as your latitude for maximum efficiency throughout the year. If you are at 35º latitude, installing solar panels with tilt angle 35º from horizontal can up to 25% more energy annually per kw compared to non-optimixed angleAvoid Physical Obstacles
If you are considering an alternative space, think about the long-term environmental issues that might arise, like a neighbor planting a tree, or building being constructed that might later block sunlight. Panels are also recommended to be put in areas that manpower may be able to reach for maintenance and cleaning, this is important for optimal performance.Check Local Regulations
Be sure to check your local zoning laws and homeowners association rules before having solar panels installed. In some communities you cannot legally put solar panels everywhere or are required to obtain certain permits. Following these directives ensures that you avoid legal troubles and hefty fines.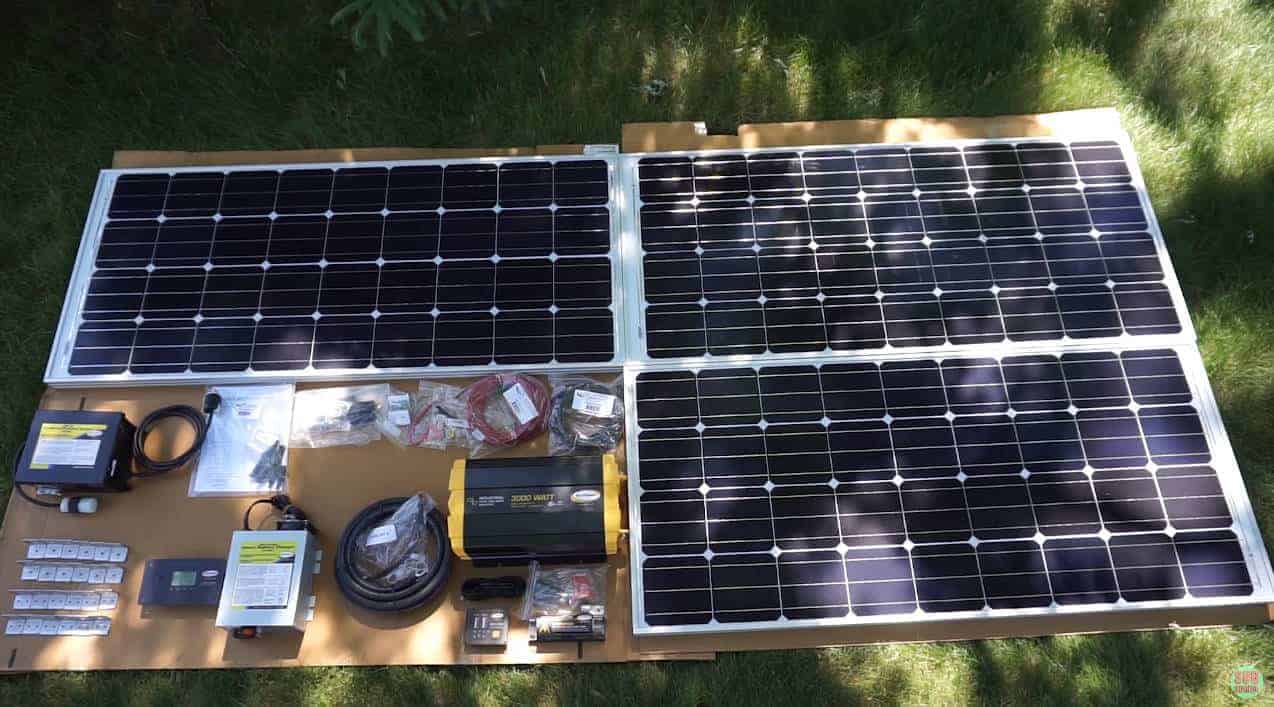
Gathering Tools and Components
The well preparation of tools and elements is the basis on which the right way to install the 200-watt solar panel depends. Making sure you have everything you need before you start the install can really streamline your efforts and assure you complete the install in one boot without the threat of interruptions.List of Essential Tools
First of all you will require a few tools:- Drill/Driver—This is an absolute necessity for anyone who wants to mount brackets and install screws so a good, consistent drill is a must. If you are planning to cut a wide variety of materials, select a model that comes with a lower speed setting as well.
- Screwdrivers/Automatic Screwdriver – For both, you are going to use these to assist in adjusting mounting hardware and connecting any electrical connections.
- Strippers/ and crimpers: This is important for preparing and connecting wires so use a pair you trust.
- Voltage Tester or Multimeter – Every electrician must possess these to ascertain that electricity can flow without any error through the connection of wire and switch.
Key Components Required
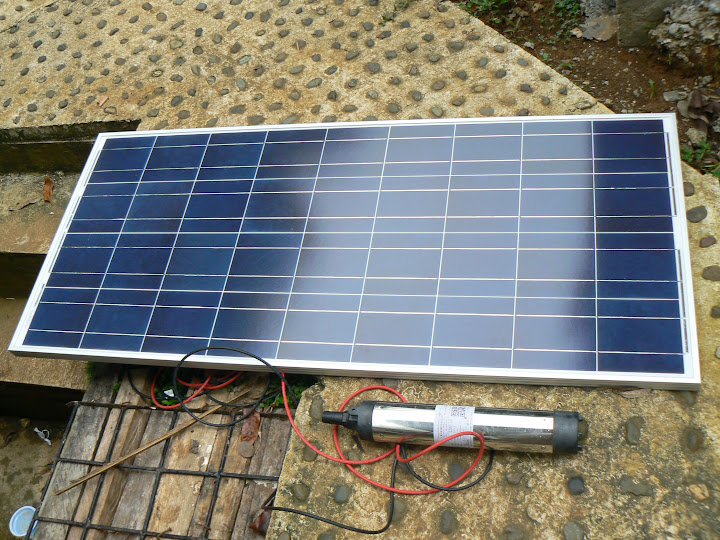
The Best Way to Assemble a 200w Solar Panel Kit gather up all the pieces you are going to need for your 200 watt solar panels kit- Solar Panel this is just the panel itslef and it pumps out 200watt
- Mount System — Rounded brackets, rails, and bolts How about your mounting surface (roof, ground etc) as long as they are compatible.
- Wiring: We recommend the use of UV-resistant and weather proof cables to connect the solar panel to the charge controller, and from the charge controller to the batteries.
- Charge Controller: Use an MPPT (Maximum Power Point Tracking) controller to ensure that your panel is charging at peak efficiency throughout the day given that the charging voltage varies based on light conditions.
- Batteries and Inverter (if applicable) — These will store and convert power for your house. Quality and compatability matters
- Combine components: It is important to verify the compatibility and quality of the components, when choosing your components. For example, pairing up an MPPT charge controller with a basic PWM (Pulse Width Modulation) controller might improve the efficiency of your system by adjusting for light level changes. Choose parts from known manufacturers with warranties and great customer service.
Mounting the Solar Panel
Mounting the solar panel is important as it influences the stability and overall performance of your solar energy system. During this phase, the solar panel is mounted to its designated location to make sure that it can bear harsh environmental weather conditions like the wind and rain.Preparation of Mounting Area
Step 1 — Check the Structural Strength of the Mounting Surface to Support the Solar Panel along with its Solar Panel Mounting Structure Check the roof for any damages, particularly for roof installations, and Keep reading for roof installations )During! You also need to clean the portion on which the solar panel will be installed to avoid any material from preventing the installation from going smooth.To mount it
Follow the manufacturer's installation instructions to assemble the mounting brackets and rails. Use all the hardware provided (bolts, etc) to AritonSoft, Gracia Brackets install brackets properly. As 200 watt panels usually weigh 15–20 kilograms, using industrial strength racking brackets (one every 1m, remember) and securing them tight will mean the panel should not move due to wind.Positioning the Solar Panel
Very carefully, place the solar board up onto the mounting brackets. For making a hole in the panel, it is recommended you have another person with you to avoid damaging the panel. Place the panel in the previously drilled holes and fasten it with the installation tool suitable for the selected fastening. Ensure the panel is exactly horizontal with a bubble level.Securing the Panel
When the panel is positioned, tighten up all the fasteners to hold the solar panel into spot. This, amongst others, involves the bolts and nuts and their firmness to make sure the panel does not move. Anywhere the wind is strong, think of other means of attaching means, like using safety cables or more points of attachment.Double-check for Stability
Lastly, if you are done with all the tightening, you can test its stability just by a little shake. This is indeed a test for proper circulating of fastening the elements. This is important to make sure your panel is stable and secure in place and is working efficiently, while also withstanding external influences that can cause any damage.