There are five ways to assemble a 500-watt solar system: single panel, dual-panel configuration, modular kits, custom scalable systems, and portable solar generators, adaptable for various needs and spaces
Single-Chip Configuration
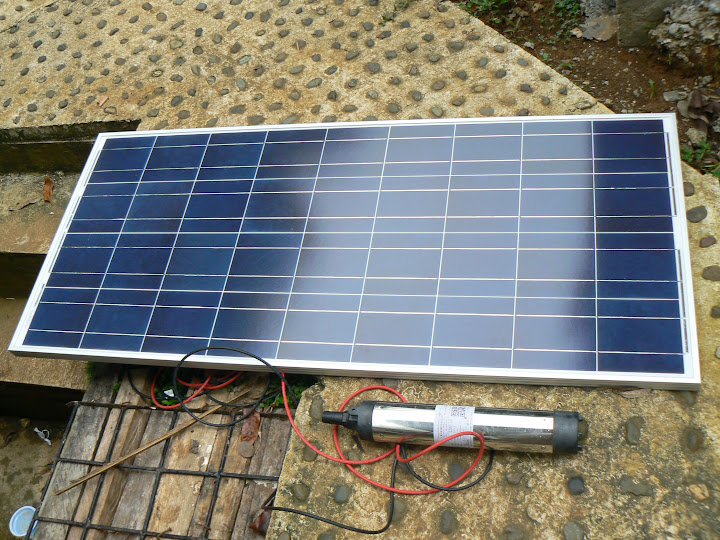
One 500 watt solar panel in a single-chip configuration lessens the time required to establish a solar power system. This method can be beneficial for small housing sites or where intervention ultrasim is essential. Let me demonstrate how to build a single-chip solar system configuration using step-by-step examples and real-world scenario.Choosing the Right Panel
when you choose a 500W panel, make sure that these panels are known for high-efficient, reliable define types. High-efficiency-rated panels give more power in the less space, and they are intended to help your system withstand the environment. At 500 watts per panel, a typical size panel would be 96.5 x 41.8 inches — a size that works well for small rooftops or as part of a mobile setup.Installation Location
How and where to install so you get the most of the solar input. The panel needs to be installed in a location where it can get the most amount of sunlight through the day. This typically means that one faces the panel in a southerly direction and pitches it at the angle of latitude of the site in which it is being installed to meet the sun at that optimum edge-on approach, and for most locations in the Northern Hemisphere that optimal approach means the edge-on planar sun-side appearing to face easternly at about 30-50 degrees from the panel face(vertical).Installing the Panel
Proper mounting is necessary to ensure the panel is secured safely under wind and per square metre of snow load. Fitting it on a mounting system that can be easily angle adjusted will help increase the solar absorption throughout the year. This can include mounting brackets, a rail system, and clamps to fasten the panel onto a roof or a ground mount respectively.Electrical Connections
Run the solar panel through an inverter (that will convert the direct current [DC] output of the panel to an alternating current [AC] that is compatible with home use). To ensure safety, you must use weather-resistant cables with connectors. If your wires are loose, you can lose power, so make sure all of your connections are tight.Compatible to Household Energy Systems
The last step is in tying the solar panel into the house energy system. This can call for extra devices, such as a charge controller to monitor and prevent battery overcharging from a storage system. Each installation must meet all applicable local electrical codes and electrical safety standards, and a professional electrician should conduct a final inspection.Real-World Application
a homeowner in Southern California mounted one 500-watt panel on the roof of their garage. Between them, the pair says the panel generates sufficient electricity to run all their workshop tools and even recharge their electric bicycles. But it has proved effective, with the panel producing around 2,500 kWh per year — so the household uses less grid-supplied electricity.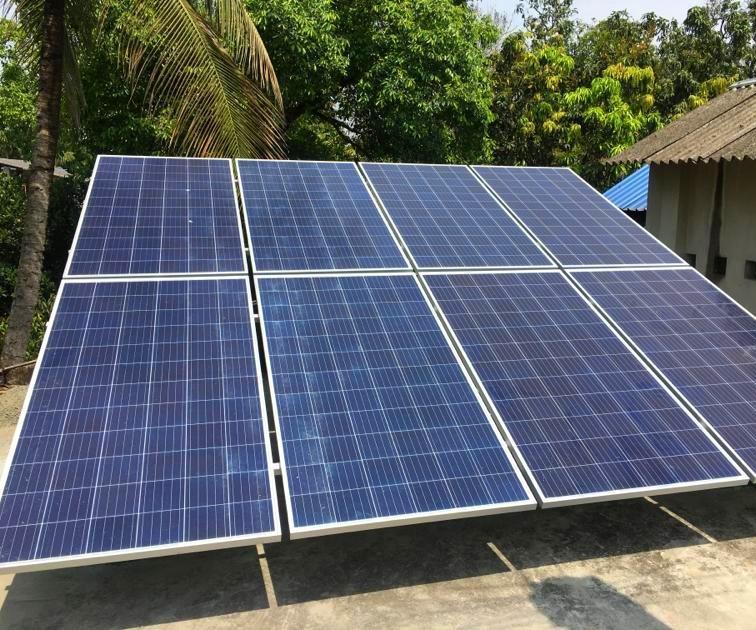
Multiple-Chip Parallel Configuration
With regard to limiting the 500-watt solar system, small panels are connected in parallel to achieve the predetermined power output, in comparison to a single-chip parallel configuration. Each of those pairs in parallel with each other For increasing the voltage output to X many times, this also helps you to get a higher current output by staying at the voltage of myofort to marked and it is an ideal solution for large installations this mature flexibility in desigh scalability.Selecting Compatible Panels:
For a parallel system, you must again pick the same voltage panels, but of a lower wattage; so that there will be a total of 500 watts. Generally it is set up using five 100-watt panels. The reason behind this uniformity is to maintain an equilibrium for charging and discharging different panels so that the overall system efficiency and lifespan can be improved.Optimizing Sunlight Exposure for the Panels
Put the panels next to each other in a place that gets good sun and is clear of any blockage from trees,city roofs, etc. Clear exposure is vital because shading on one panel in an electrical configuration will drop motion across all the panels on the system, even in series.Wiring Panels in Parallel:
Run every positive terminal of the solar panels to a single line that leads to the charge controller, and do the same forthe negative terminals. This setup is to increase the amperage but at the voltage side of one panel. Just make sure you are using thicker cables since the current flow will be greater than before, which will also reduce the chance of overheating in the long run and potential power lost.Incorporating Safety Devices:
Use a fuse or circuit breaker to prevent overcurrent fault conditions. Of even more stress in parallel configuration are the safety components. They protect the Solar Panels and other appliances from any kind of damage.Real-World Application:
Configuration: Array of five 100-watt panels — ParallelLocation: Arizona (Community Center)Powers: Lighting, Small Electronics This system effectively generates around 2500 kWh/year, which has reduced the center's dependence on grid electricity. The UV and weather resistant cables were carefully routed to the sensors and the Loom, which was just not visible in the picture above.Portable Kit Combination
A portable kit combo, on the other hand, is the perfect selection for a 500-watt solar system that any user can conveniently mount as per their need and in a very compatible way. Most of these are plug and play kits with all components pre-configured to work out of the box and made user friendly. This method is more well-suited for projects like RV's, camping, or temporary setups that require movement.Choosing a Portable Solar Kit
So, make sure you get a quality manufactured variety portable solar panel kit complete with a 500-watt solar panel, a solar compatible inverter, and charger controller as well as battery storage if you do want off grid or grid independent ability with it. Most of these kits come with plug-and-play support, meaning that the installation is easy. Find a kit with strong, weather resistant parts built to last.Understanding Kit Components:
For a portable system : portable 500-watt kitUsually, a portable 500 watt kit includes a foldable solar panels that makes it easy to store and transport. The kit is equipped with a pure sine wave inverter to ensure all electronics are safe to use. The charge controllers contained in these kits are more often than not MPPT (Max Power Point Tracking), and they work by properly regulating the power supplied by the panels to do the charge of the battery.Installation Process:
- Unpacking & Installation: Place panel(s) in an area where it can clean to totally exposure to sunlight. Make sure the panels are not in shade directly at any part of the day.
- How do you wire it together: Connecting the Components: Using the cables in the kit, connect the included solar panels to the charge controller, then connect the charge controller to the battery. Now, however, attach the inverter to the battery. Normally these require no tools as the connectors are made to be easily attached.
- Functional verification: Plug the unit back in and turn on the unit to verify that all working components are operating correctly. These units are often portable and come with LED indicators or digital readouts, which monitor the condition of the system.
Practical Usage and Mobility:
They are well suited to remote locations where electricity is unreliable, and thus, portable solar kits are perfect. One family in Colorado took the kit with them on a camping trip and used it to power lights, a small refrigerator in a travel trailer and their cell phones. The setup worked well for the entire pilot, proving the ability and reliability of the kit.Real-World Application
A vendor at a California farmers' market who uses a portable 500-watt solar kit to run its stand. This configuration runs the lighting, cash habitats, and smaller appliances to offer a continuous and free-range of power all over the market days.
Customized System Integration
500 watt solar system assembling management, achieved with a tailored approach for your need and your environment This approach encompasses the design of a system to utilise different components with possibly different manufacturers to maximize the yield both globally and for a specific power rating.System Design and Selection of Components:
In custom system integration, planning and designing the layout of the integrated solar power system should be the priority before a purchase, depending on the area the solar power system is expected to be installed, the energy each system is to generate, and the budget for the whole integration. When installing a 500-watt system, the solar panels, inverter, battery (if off-grid), and charge controller should be carefully selected to work effectively in unison.- Solar Panels: A Single 500-watt panel vs. multiple panels to make up 500 watts of juice. The panels should be efficient and should be able to withstand the local weather conditions.
- Inverter: A 500 watts and then some, inverter (I prefer an inverter a few watts over the edge as safety margin)
- An MPPT controller is usually chosen as a charge controller due to it being the most efficient at converting solar energy, especially with changing sunlight levels.
- Battery Storage: When the system is intended to live separately work from the grid, it's important to choose a battery that can produce energy throughout the day. For their long life and efficiency, lithium-ion batteries are considered as an excellent choice.
Installation Strategy:
- Depending on the design of the installation, the installer carries out installation of each component. This might include:
- Where to Install Solar Panels:This can either be mounted on the roof or establish a ground mount system, depending on the location.
- Wiring: Quality correct mounting and size of wire so as to not lose energy between components, and consideration for weatherproofing and safety.
- Grid Connection / Battery ConnectionCompleted: Locational Electrical Code compliant connections are secure.
Real-World Application
While another from Texas used the Sun King Home to design a customized 500-watt system to power a garden shed and outdoor lighting. With limited roof space, they squeezed in as much power as possible with 125-watt panels of high efficiency. This kit is equipped with a small MPPT charge controller and a 600-watt inverter, providing a stable and reliable power system. The install is complemented with a battery bank that can store enough juice to power the lights for the garden at night and tools during day.Performance Monitoring
Another key component of every custom-install is the monitoring system that keeps an eye on how the system is running and provides data to optimize it. Most solar panels today have integrated smart monitors, which monitor the production, system health, and energy consumption in real time.Flexible Mobile System Configuration
One of the key benefits of a Flexible Mobile System Configuration for a 500 watt solar setup is that mobile system configurations are great for most applications, such as RVs, boats, and temporary outdoor setups. The system can then be easily taken down, transported and reassembled, allowing for on-the-go power.Selection of Component for Mobile:
The selection of components that meet the requirements for mobility and different environmental conditions consists in this case. For a mobile 500-watt system:- With solar panel: Go for lightweight, flexible solar panels that you can easily stick and take off. These are generally 3 mm or more full and can be moved up for transport.
- Inverter: A small but rugged inverter suitable for on-the-move use, one that can tolerate modest overloads for brief moments.
- Charge Controller: Robust MPPT charge controller capable of rapidly adjusting to light conditions throughout the day while traveling maximizing energy harvest.
flexible installation
The installation must provide a secure and easily adjustable and removable system.- Mounting Panels: Attach the panels using mounting brackets that could be removed easily. They should be strong enough that they can keep panels in place during movement but still be readily removed as required.
- Connectors: Use plug and play connectors for all components to make disassembly and reassembly fast, without tools.